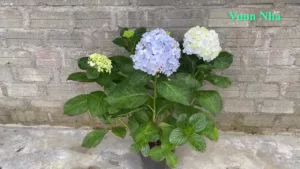
Hydrangeas are beautiful flowering plants that brighten up any garden or home. If you’re thinking of growing them, why not try using cuttings? In this article, we’ll show you how to grow hydrangeas using cuttings.
Step 1: Choose the Right Time
The best time to take hydrangea cuttings is in early summer when the plant is actively growing. This is usually between June and July. Choose a healthy branch with a strong stem and plenty of leaves.
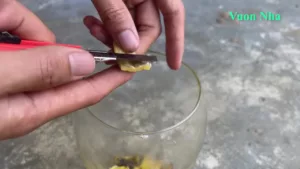
Step 2: Prepare the Cuttings
Cut a 6-inch section of the branch with a clean, sharp pair of scissors. Make sure there are at least two leaf nodes on the cutting, as this is where the roots will form. Remove any leaves from the bottom half of the cutting.
Step 3: Rooting Hormone
Dip the bottom of the cutting into rooting hormone powder. This will help the cutting to develop roots more quickly. Shake off any excess powder.
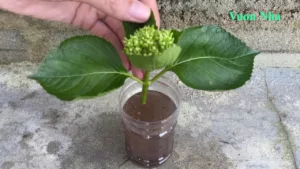
Step 4: Plant the Cutting
Fill a small pot with potting soil and make a hole with your finger. Insert the cutting into the hole and gently press the soil around it.
Step 5: Water and Cover
Water the cutting thoroughly and cover the pot with a plastic bag to create a mini greenhouse effect. Keep the pot in a warm, bright location but out of direct sunlight.
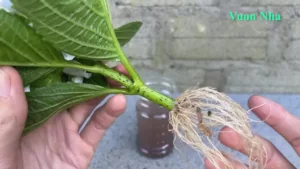
Step 6: Monitor Growth
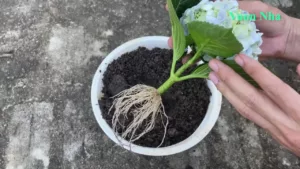
Check the cutting daily to see if it needs watering or if any new growth has appeared. After a few weeks, the cutting should start to develop roots. Once the roots reach about an inch in length, you can transplant the cutting into a larger pot or directly into your garden.
In conclusion, growing hydrangeas using cuttings is an easy and affordable way to add these beautiful flowers to your garden. Just follow these simple steps, and you’ll soon have a variety of stunning hydrangeas to enjoy. Happy gardening!